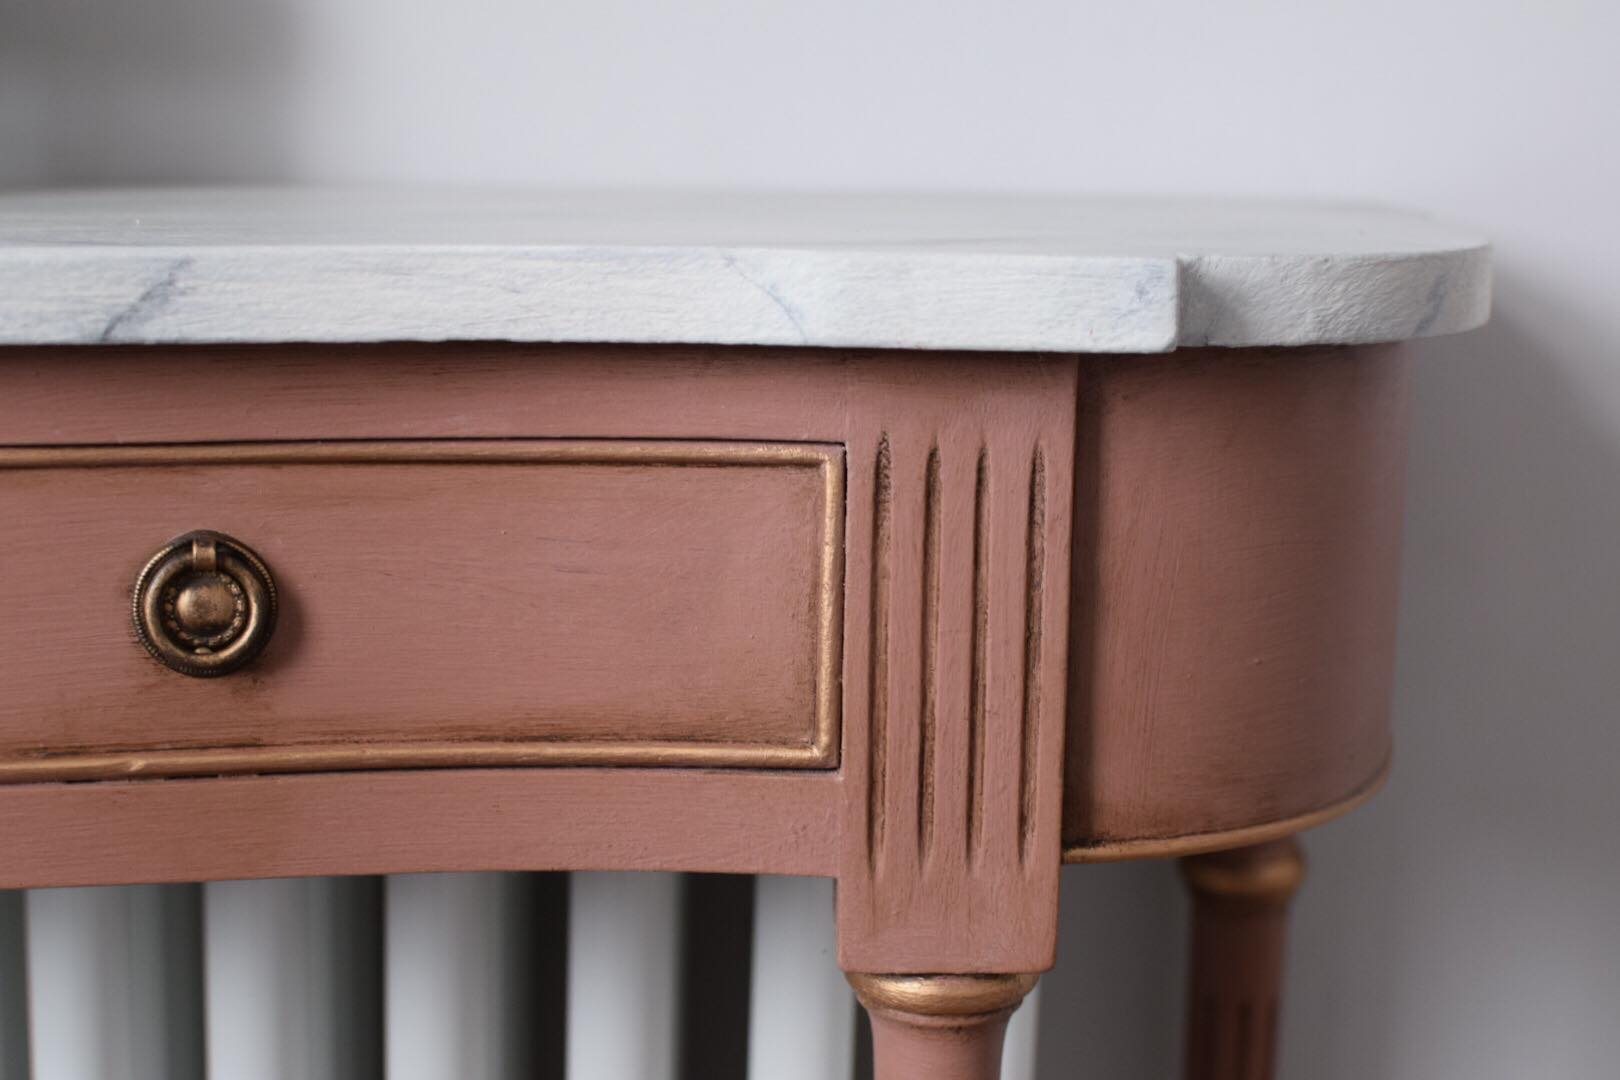
Colour Block
Remember to neutralise orange tones by flat painting first with Country Grey or Paris Grey.
White Marble
In this masterclass I use Pure but you can use Old White or Original, depending on whether you want a cool/crisp or a warmer finish.
Seal the Deal
I use Lacquer by Annie Sloan over my first coat of Pure but two thin coats of Chalk Paint™ Clear Wax will also protect your base white when you’re brushing back with water.
Google It
Before I created my marble technique I studied images of marble and real pieces. Now I paint it fluently from memory. If you’re less familiar with how marble veins look, just Google ‘white marble, black veins’ for a variety of images. It’s incredible! Choose the reference that works for you.
Hold it
One of the trickiest parts is holding your brush correctly to create fluid, natural ‘cracks’ across the surface. Don’t grip.
Take it lightly at the end, roll it softly, tickling the wet surface without pressure.
Activate, Blot, Soak
To create a subtle and natural marble you must ‘activate, blot, soak’ each vein. So activate the base white with a fresh water spritz, paint your vein, then create a pad with your cloth and slam it down to blot slightly. Allow it to soak for a few seconds before blurring softly with your dry brush.
Dry Wet Brushing
Scour your workshop for a soft old chip brush with sparse bristles. Bristles shouldn’t be too long or too dense. This will give you more control to gently flick over the painted veins and soften the focus. Have a second clean cloth or old towel to remove moisture from your brush for ‘dry wet brushing’.
Lightning Strikes Thrice
Not twice, but thrice! Remember this little mantra when building your veins. Roll your first vein over the surface with a standard art brush. After you’ve brushed it in, highlight areas along its path with a thinner artist’s brush, blur and flick as before. Finally use a very delicate rigger brush to accent key elements of the vein. This is 100% vital to creating the sort of authentic marble you see in nature.
Statement Strike
If you’re feeling brave, add a ‘statement strike’ to your marble surface with a single swipe against the grain. Stand
back and study your table top. Have you left an area that’s too plain or just needs more?
Generous Drying Time
So you’ve worked this top at least three times, adding paint and lots of water. Be patient and allow it as much drying
time as you possibly can before you wax. You don’t want to spoil your hard work.
Buff Up
Really polish the ‘marble’ top for a luxe high shine that makes it look like an expensive heirloom.